4 Yoga Poses to Help Boost Your Weight Loss Efforts
By Nutra Active Team
Originating more than 5000 years ago in ancient India, yoga has now become a mainstream health and wellness practice known for its ability to not just work up a good sweat, but also promote relaxation and balance the body.
While it may be often practiced for its strength- and posture- capabilities, not many people may turn to it as a source of helping their weight loss. As you’ll see below, different yoga poses have been associated with different benefits, such as improving digestion and relieving stress.
These are factors that, if worked on, can help to boost your weight loss efforts.
Here are 4 yoga poses to get you started!
For Your Arms: Upward Facing Dog Pose
Thought to help stimulate the abdominal organs and relieve fatigue and depression, the Upward-Facing Dog (or Urdhva Mukha Shvanasana) is one to work the muscles and challenge you to open up and lift your chest.
Besides strengthening your arms, wrists and spine, those with asthma or posture problems might stand to benefit from learning this pose as well. The Upward-Facing Dog Pose may also help in promoting weight loss.
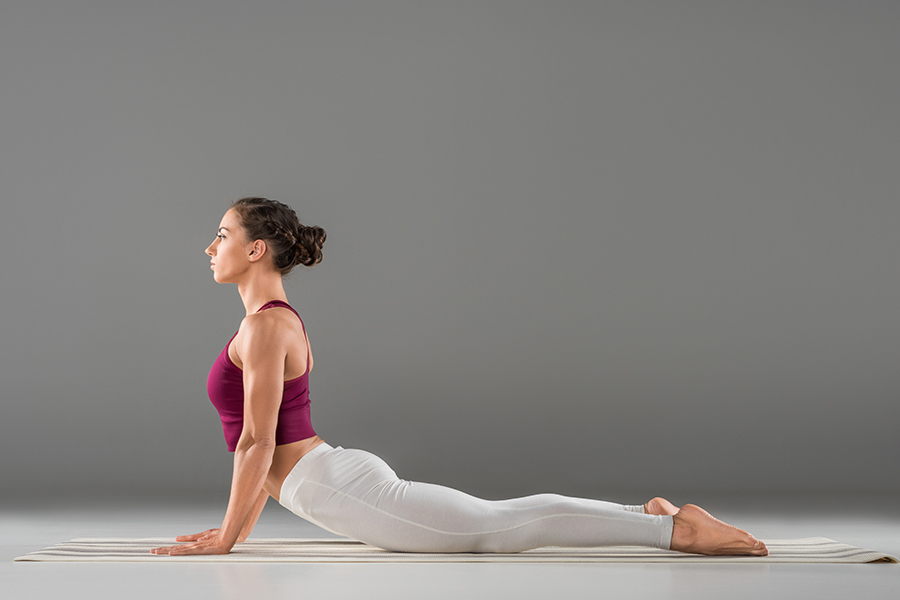
This backbend is stimulating, to say the least—working your hamstrings, triceps brachii and spinal extensors as well.
Here’s how to perform the pose:
- Start off in prone position; lying face-down on your stomach with your legs fully extended
- Position your palms flat on the ground, ensuring your forearms are perpendicular to the ground
- Inhale and push down into the ground through your palms and slightly back, as though you are attempting to push yourself forward along the ground
- Straighten your arms and proceed to lift up your body and legs, again, while inhaling
- Your thighs should be slightly turned inward, while remaining firm
- Conversely, your arms should be turned out such that the elbow creases can face forward, while remaining firm as well
- Come onto the tops of your feet, with your elbows keeping a bit of a bend, and your shoulders and buttocks remaining firm
- Your gaze should be straight ahead, while softening your neck and throat
- You may remain in this position for up to 30 seconds
For Your Shoulders and Upper Back: Half Lord of The Fishes Pose
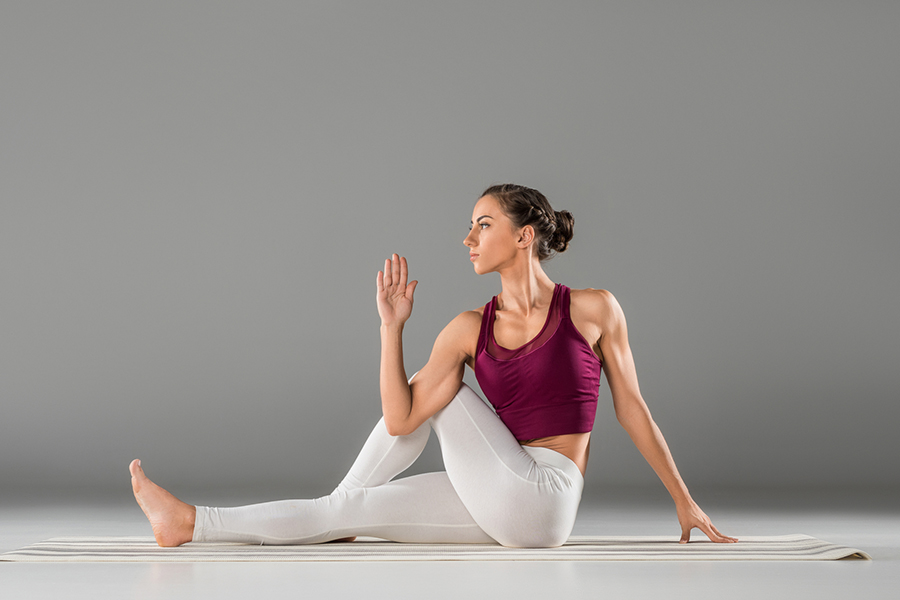
On top of being a lower back-strengthening exercise, this pose has you toning your upper body as well as sides as you move your shoulder, spine and neck in one motion. It is also thought to have digestion-improving capabilities, stimulate the kidneys and liver, relieve fatigue, menstrual discomfort and backaches—all while helping to massage your lower abdominal organs.
Here’s how to perform the pose:
- Start by having your legs extended out in front of you while seated on the floor
- Be sure to support your buttocks using a folded blanket
- Bend your knees such that your feet are on the ground
- Place your left foot underneath your right leg—aiming to position it at the outside of your right hip. The outside of your left leg should be on the ground
- Place your right foot outside your left hip, stepping over the left leg. It should be in a standing position with the right knee pointing up towards the ceiling
- Be sure to remain rooted in your sit bones while lengthening your spine, and then twist your body to the right
- Place your right hand on the ground behind you, and your left upper arm to the outside of the right thigh. It is up to you if you wish to keep your forearm raised straight in the air or to rest your hand on your thigh
- Focus on lengthening and lifting upon each inhale, while twisting deeper to the right upon each exhale
- Aim your gaze over either shoulder
- You may hold this position for up to 1 minute before repeating the pose on the other side
For Your Hip: Reclining Bound Angle Pose
Apart from helping to calm your nervous system, the reclining bound angle pose (also known as the Supta Baddha Konasana) is known to help relieve menopause symptoms, stimulate the heart and benefit those with high blood pressure. It can also work as a stress reliever, which, in turn, may help with blood sugar and blood pressure levels. The pose is also known for improving digestion, circulation in the lower abdomen, as well as calming the nervous system.
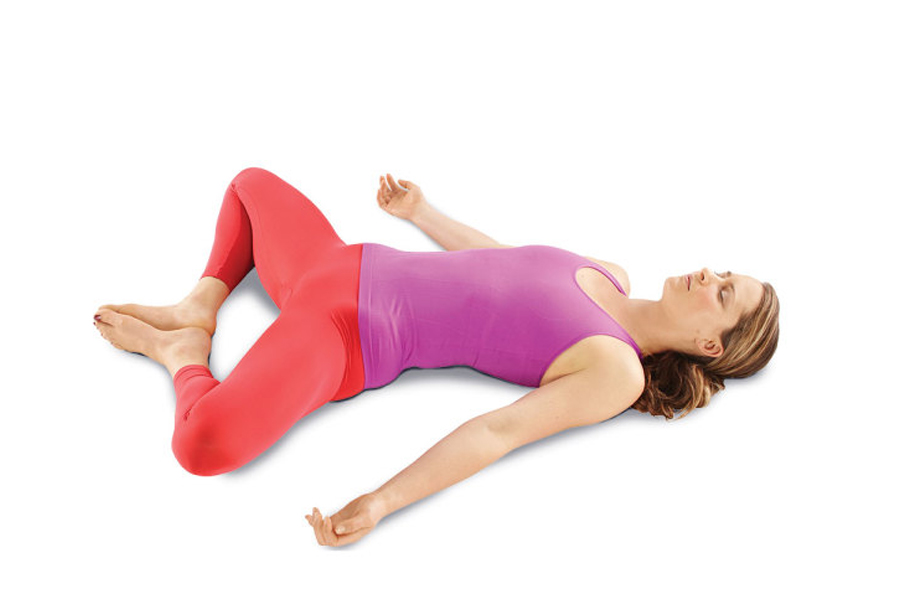 Unsupported version
 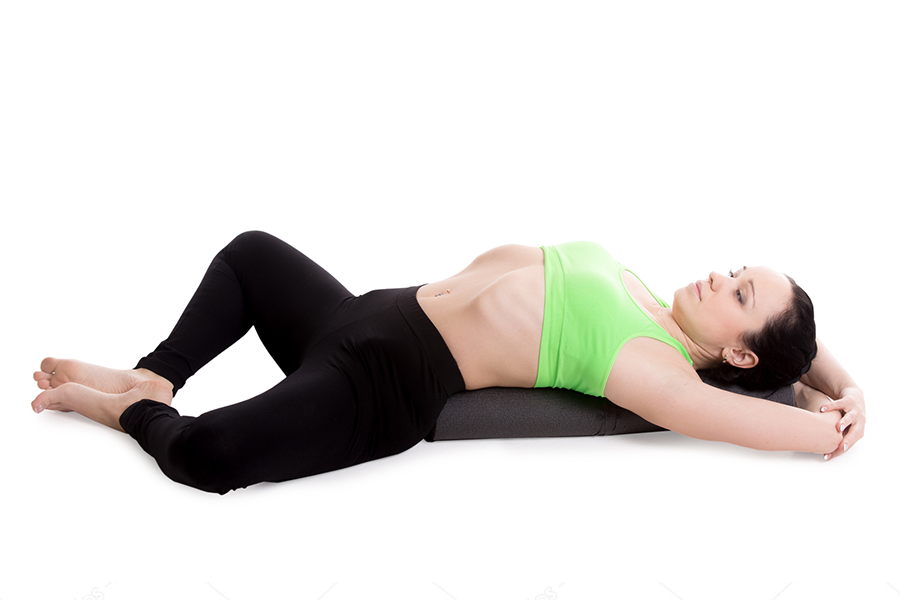 Supported version
 For those who have a knee injury (in the unsupported version of this pose) or suffer from low-back pain, it is advised to stay away from this pose and to, of course, consult a medical professional should you see the need to.
Here’s how to perform the pose:
- While in a seated position, bring in the soles of your feet such that they are in contact with one another; ensuring your knees are pointed outwards, to the sides
- For support, you can opt to place a soft cushion or a bolster under your knees
- Once in place, start to slowly lean back all the way until your back hits the floor and you’re lying flat on the ground
- Focus on relaxing your hip area
- Place your hands (palms facing up) along your body
- To work the stretch even more and double-down on the relaxation, press down on your thighs (be sure to not overexert yourself!)
- You may remain in this position for approximately 10 minutes, before using your hands to bring your knees together and slowly sit up again
- If you wish to remain in the pose longer, try opting for the supported version, where you slip pillows under your thighs. This can let you experience some form of an opening without necessarily straining your body parts; with the stretch coming in a more gradual manner
For Your Legs: Seated Forward Bend
As a pose that promotes weight loss, the seated forward bend is straightforward to do and suited for those with a frazzled mind or tight hamstrings looking to unwind. Doing the stretch can help to put your pelvic muscles and glutes to work!
While its traditional name may be a mouthful to pronounce, the Paschimottanasana is known for its potential blood-pressure lowering benefits, on top of its benefits of relieving fatigue, headaches, and anxiety.
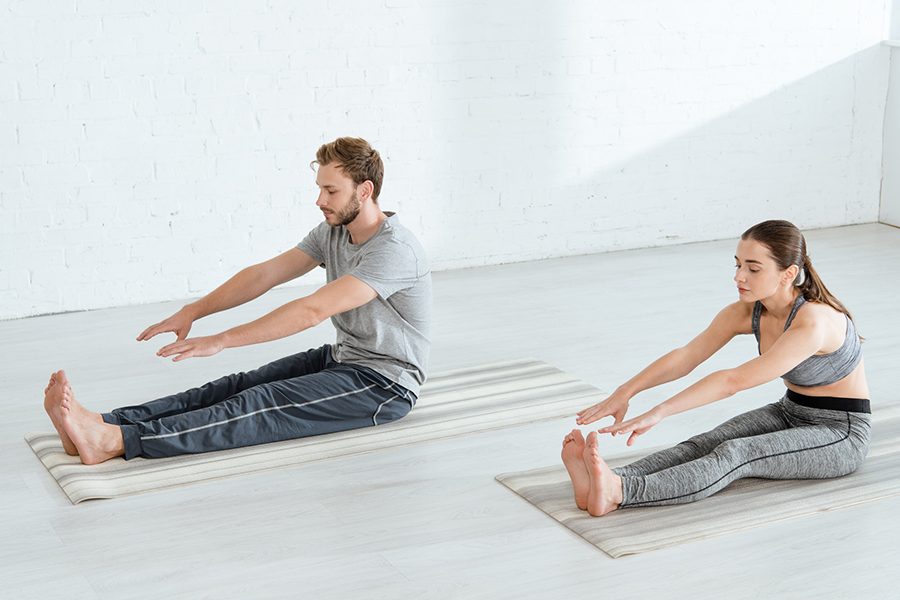 Start off like this
 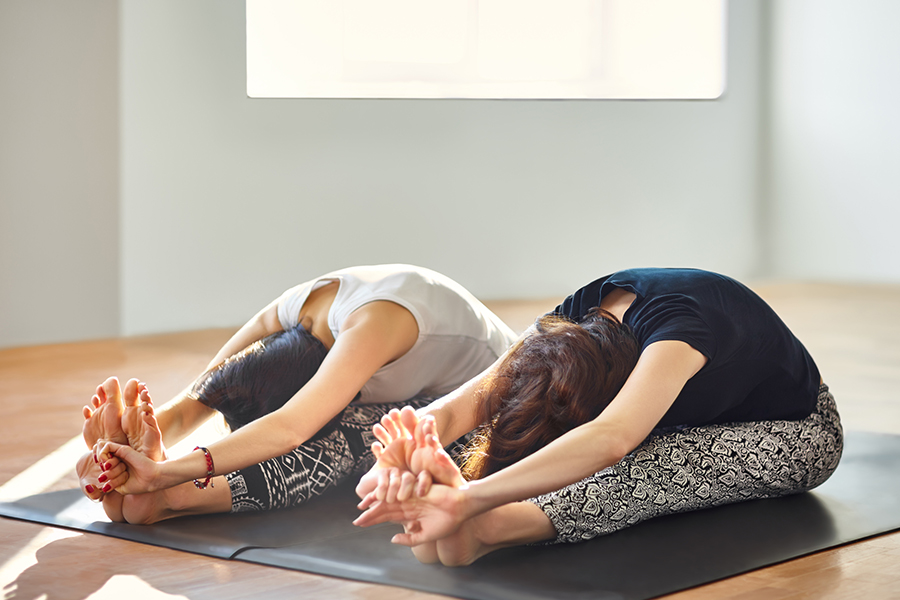 Slowly ease into this
 Here’s how to perform the pose:
- On the floor, sit on a folded blanket and straighten your legs in front of you (for those who require knee support, feel free to place a prop underneath them)
- Draw your toes back towards your shins (you can do this by imagining your soles pressing hard against a wall)
- Wiggle your bottom so that your sit bones are flat on the floor
- Open your chest and keep your spine long and straight
- From the hip joints (not your waist), lean forward
- Slowly work your way down to your feet by using your hands as a ‘walking’ support
- You should find your torso folding into your legs, as you reach a comfortable position
- Tuck your chin inwards towards your chest
- With each exhale try to sink a little bit lower into the pose
- You may remain in this position for approximately 3 minutes
